Tuesday 14 December 2010

Hello out there

Hello Kellyville!  Hello West Roxbury, Massachusetts!  Greetings from Sunny Newport.


I made this little guy on Saturday.  One of the advantages of not working is that I don't have to rush around on the weekend doing loads of washing - but, I hear you say, why don't you wash in the week?  You have all that beautiful sunshine and all those long days!  Well, Gentle Readers, the washing machine '12' cycle takes 45 minutes.  If I get home at 7.30, it's 8.15pm before it goes out, and you know what?  It's dark then and I don't fancy going out in the dark to fight off the mosquitos and spiders to hang out the washing!  Poor Mr Golightly left work at 5.20pm yesterday, and arrived home 'early', at 7.00pm.  That's 1 hour and 40 minutes to get home, on a good day.  See why I don't want to work in the city any more?

Anyway, back to the little guy.  I made him from this book, but the pattern was so fiddly at 100% that I took it to the nice man in Mona Vale and had it enlarged to 150% - still fiddly as hell, but slightly more manageable.  That's a terrible photo, isn't it?  Must try again...

Anyway, it's for MBF's son, H, who was the Dux of Year 7 at his school.  What a fantastic achievement, which deserved some form of squishy recognition.  Hope he likes them both - he already has the smaller, slightly not so well made version, and he can have this one as the parent.  I love the vintage button for his/her nose, it's a great touch.  Ideas for names?  Apply below.

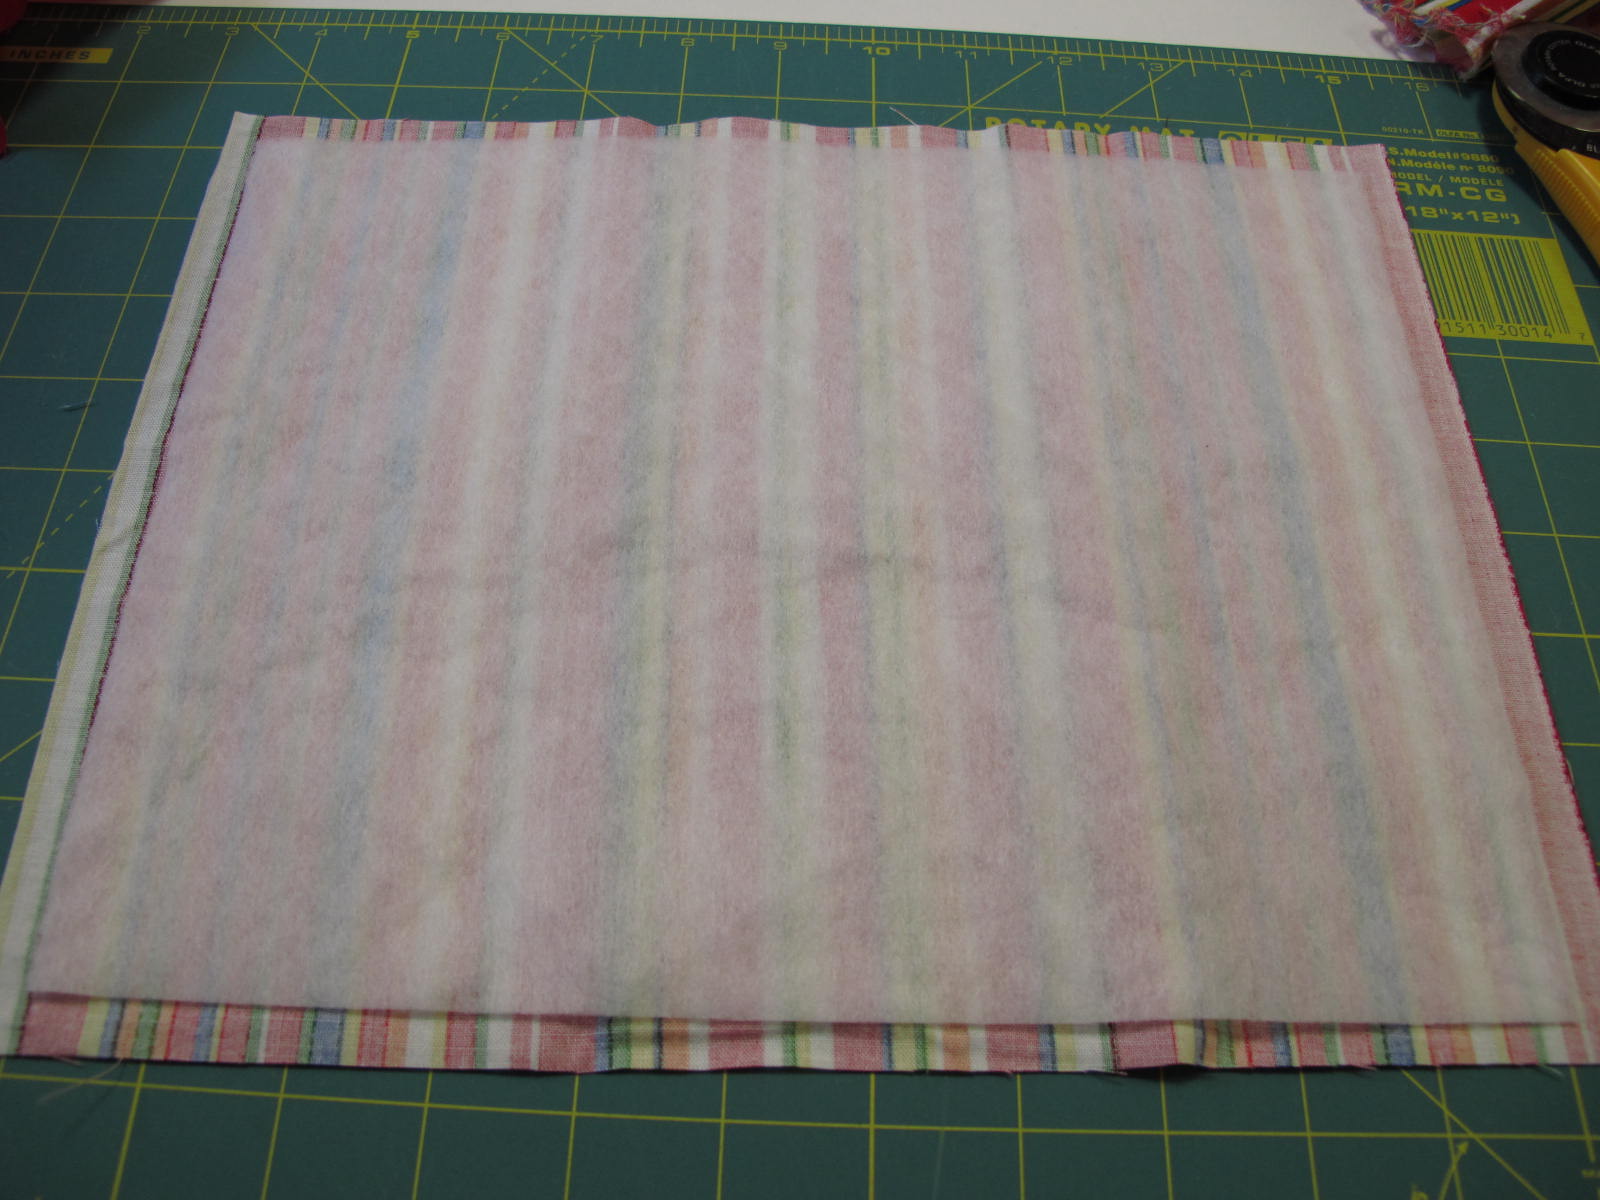
The eagle-eyed amongst you may recognise the fabric.  I love that sock monkey stuff.  Should have bought two metres whilst in Perth...

What else?  I feel slightly under the weather today, my right eye has been producing all sorts of green crusty stuff & it's a bit puffy, and I'm delightfully wearing a t-shirt & shorts which are both waaaaaaaaaaaaay too big for me - you know how the drawstring on your shorts can only go so far before it starts grabbing at the material in the waist?  Yep, it's there.  Hooray for me - but I look like I'm wearing bombay bloomers!  

What else?  It's 1.02, so time for lunch and a quick check of the mailbox.  I ordered a pattern from an Etsy shop some time in November & it hasn't arrived yet... and I found my birthday present from Mr G at Palm Beach Markets on Sunday - isn't the way?  I used to take him into Victoria Buckley Jewellery in the Strand Arcade & he would pay for whatever I pointed at, so I guess it's the same principle.  I can't show you a picture because these lovely people don't have a website, but I will drop the 'E' word at them when I go to pick it up this week...

That's it for now.  I would love some of you to try the Journal tutorial & let me know how it works for you, so I can improve it.  And now, I'm off to ham & cheese sandwiches for lunch & the rest of Harry Potter & the Half Blood Prince, which I started yesterday & had to stop when Mr G came home & wanted NCIS.  Accio!

Ciao!

Journal Cover Tutorial

This will work for any size journal - be careful with your measurements and write them down!!  Caveat - if your journal is less than 6"/15.25cm wide, you will need to adjust the size of your flaps!


Measuring:
Measure your journal from the front cover, moving left round the spine to the back cover.  Do not include the pages at the front.  This measurement is the width.
Measure your journal from top to bottom.  This measurement is the height.


Fabric cutting:
For your focus fabric, add 6"/15.25 cm to the width and 1"/2.54cm to the height.  If your journal is 12" X 6", cut your focus fabric 18"/45.75cm X 7"/17.80cm.


For your lining fabric, add 1"/2.54cm to the width, and 1"/2.54cm to the height.  If your journal is 12" X 6", cut your lining fabric 13" X 7".


For the batting, I used iron-on pellon to make it less bulky, and also easier to work with.  I try to cut the pellon 1/2" or 1/4" smaller all round than the width and height of the journal so you don't have bulky seams.  I ironed the pellon on to the lining fabric.  Using slightly smaller sized iron-on pellon also makes it easier to find and align the centres of the focus and lining fabrics when you are constructing.


Put 1/4"/6mm (1/2"/12mm total) double seams on the flap ends, and 1/4"/6mm single seams on the lining ends.  If you want to have double seams on the lining ends, it's your call but it's not really necessary (unless you're the Peppermint Penguin, who will probably turn the cover inside out to see how it was done!).


If you want to decorate the cover, do it before you sew anything.  Make sure you mark the dimensions of the cover with washout pen, so you don't lose any of the decoration into the spine or the flaps:


The first two of these I made required additional stitching at the bottom as I was over-careful and left too much room - the fit should be snug.  If it's so tight once it's finished that it lifts the cover, put an elastic band round the cover for a couple of days until the fabric stretches to fit (which it will).  


Making up:


Wrap the focus fabric round the journal, and mark at the top (with washout pen) where the flaps sit.  Make sure the flaps are evenly distributed around the book, you don't want one to be huge & the other one tiny.  


Find and mark the centre of the focus fabric.  Pin the flaps into place, RS together.  Find & mark the centre of the lining, then place your lining fabric RS down on top of the (WS up) flaps, aligning the centre marks.  You will have three layers - lining, flaps, focus.  Pin all into place, and sew with a generous 1/4"/6mm seam allowance, all the way across the top.  


If you want to add a ribbon bookmark, do it before you sew it up.  I recommend putting it on the back (the RHS of the cover), but again, it's your call.  Make sure it's long enough to come out the bottom, otherwise there's no point.


Turn the cover out, and check for fit.  Poke your flap corners out with a point turner or knitting needle, taking care not to stick holes in your cover.  Your flaps should now be RS out, your lining & focus should be WS together, with the bottom seam open.


Insert the journal, pin for fit, then take it out.  If you want, you can mark the entire stitching line in wash-out marker.  Stitch the bottom seam:


Be careful not to catch your bookmark in the bottom seam, unless you are using elastic (hey!  Great idea!) and you want it caught!  You should now have a tube.  


As you can see here, the lining is ever so slightly larger than the cover.  Not sure why this happened, but you can cheat like I did; just pink off the ends (very annoying if you've made the effort to double-seam them!) to make them the same size.  The lining should be either exactly the same finished size as your cover (without the flaps), or just smaller.  


Turn it all out, through the opening in the tube.  Insert your journal again, taking care not to bend its covers, and check for fit.  This journal is a bit tricky in that it has rounded corners, but it didn't affect the overall fit.


Remove journal again (d'oh), press carefully, re-insert journal, wrap beautifully and hand to lucky recipient.


Questions?  Comments?  More info?  Less info?  Tell all, Gentle Readers.  I'd love to see your finished items... 


Ciao!