Showing posts with label back to bed. Show all posts

Wednesday, 1 February 2012

Sick. I'm fully sick. Really.


Actually, in some cultures, Gentle Readers, that actually means "I am unwell".  Amusingly I had a phone call from Miss BlueLambb this afternoon enquiring if I was actually still employed by the August Institution, as I haven't been there for a week (Thursday was the Australia Day Holiday, Friday was swapped for my regular Tuesday off, as we had a half-day offsite thingy scheduled for our whole team & my lovely Boss wanted me there), and today is apparently Wednesday.  So.  

I have acquired some stinky virus, which has given me a nasty wheezy cough, which is happily producing **TMI ALERT** yellow-greeny slime, a headache, pounding sinuses and lethargy.  That's definitely the highlight.  I'm still in my PJ's, (not too unusual, I hear you say...) for the third day running (that's the unusual bit - how did I get to the Doctor?) apart from a brief sojourn in real clothes so I could go to the doctor, get anti-biotics for the (wait.  Is that hyphenated?  Antibiotics.  Anti-biotics.  Who cares, really?) chest infection, and ... oh bugger, I've lost the thread.  I'm sick, y'know.

Anyway, before all this happened, we spent a lovely relaxing weekend in the Hunter, and MGF Kaz and I took some nice pics.

Kaz's Sunday morning sunrise:

 Strawberry?


Sit up nicely!


Who, me?  On the furniture?


Gimme five!


On Saturday morning these guys were pictured having a bit of a sleep in, in next door's paddock.  Quietly, oh so quietly, I tiptoed round the verandah in my LLBean slides so I could get a quick pic... obviously not quietly enough.


Hello?


Did you hear something?

Quick, let's go...


On another note, I took absolutely no sewing with me, which was a bit silly in hindsight, because I'd promised Master H that I would make a pouch for his mother's birthday (29th January, oops) - you can tell I'm sick, can't you?  I just split that infinitive right down the middle.  I promised Master H that for his mother's birthday, I'd make a particular pouch.  It's still on the sewing machine.  I started it before we went to the Hunter & tried to finish it when we got back from the Hunter, but due to an earlier-than-usual dinner start time, and the incipient virus, it's still sitting there.  Very soon now, honest.  Mr Golightly pointed out two rules of sewing that I broke trying to get it finished in time - measure thrice, cut once; and, don't sew when you're sick/tired.  Very nasty.

Anyway, if only I'd taken it all with me, I could have had it made before I got sick, I wouldn't have let Master H down, and he could have given it to his mother for her birthday (29th January, did I mention that?  Oh yes.  I'm sick, you know.)

So, no sewing, no work, no fun, no sin, no you, no wonder it's dark.  Anybody recognise that?  Me neither.  I'm sick.  Ciao!

PS Thanks to the Peppermint Penguin & the Chairy Godmother for the moral support.  I'm still here, for now!


Tuesday, 14 December 2010

Journal Cover Tutorial

This will work for any size journal - be careful with your measurements and write them down!!  Caveat - if your journal is less than 6"/15.25cm wide, you will need to adjust the size of your flaps!


Measuring:
Measure your journal from the front cover, moving left round the spine to the back cover.  Do not include the pages at the front.  This measurement is the width.
Measure your journal from top to bottom.  This measurement is the height.


Fabric cutting:
For your focus fabric, add 6"/15.25 cm to the width and 1"/2.54cm to the height.  If your journal is 12" X 6", cut your focus fabric 18"/45.75cm X 7"/17.80cm.


For your lining fabric, add 1"/2.54cm to the width, and 1"/2.54cm to the height.  If your journal is 12" X 6", cut your lining fabric 13" X 7".


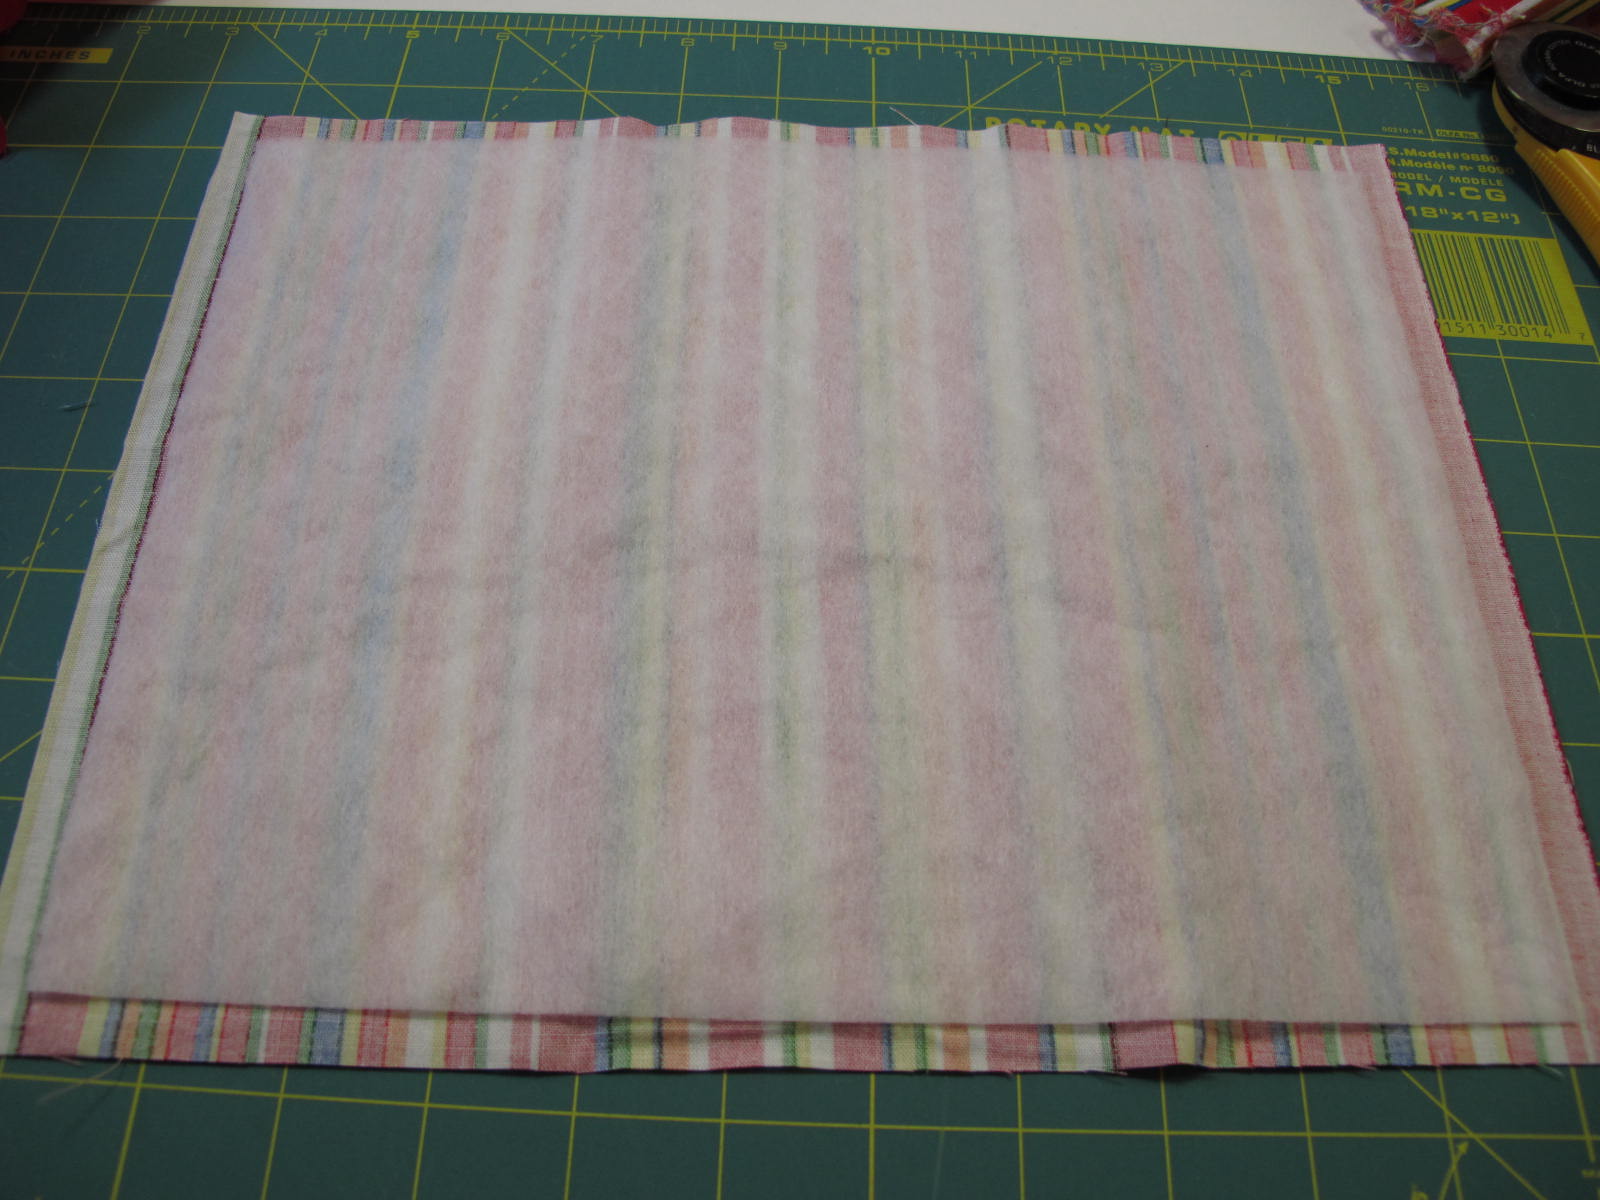
For the batting, I used iron-on pellon to make it less bulky, and also easier to work with.  I try to cut the pellon 1/2" or 1/4" smaller all round than the width and height of the journal so you don't have bulky seams.  I ironed the pellon on to the lining fabric.  Using slightly smaller sized iron-on pellon also makes it easier to find and align the centres of the focus and lining fabrics when you are constructing.


Put 1/4"/6mm (1/2"/12mm total) double seams on the flap ends, and 1/4"/6mm single seams on the lining ends.  If you want to have double seams on the lining ends, it's your call but it's not really necessary (unless you're the Peppermint Penguin, who will probably turn the cover inside out to see how it was done!).


If you want to decorate the cover, do it before you sew anything.  Make sure you mark the dimensions of the cover with washout pen, so you don't lose any of the decoration into the spine or the flaps:


The first two of these I made required additional stitching at the bottom as I was over-careful and left too much room - the fit should be snug.  If it's so tight once it's finished that it lifts the cover, put an elastic band round the cover for a couple of days until the fabric stretches to fit (which it will).  


Making up:


Wrap the focus fabric round the journal, and mark at the top (with washout pen) where the flaps sit.  Make sure the flaps are evenly distributed around the book, you don't want one to be huge & the other one tiny.  


Find and mark the centre of the focus fabric.  Pin the flaps into place, RS together.  Find & mark the centre of the lining, then place your lining fabric RS down on top of the (WS up) flaps, aligning the centre marks.  You will have three layers - lining, flaps, focus.  Pin all into place, and sew with a generous 1/4"/6mm seam allowance, all the way across the top.  


If you want to add a ribbon bookmark, do it before you sew it up.  I recommend putting it on the back (the RHS of the cover), but again, it's your call.  Make sure it's long enough to come out the bottom, otherwise there's no point.


Turn the cover out, and check for fit.  Poke your flap corners out with a point turner or knitting needle, taking care not to stick holes in your cover.  Your flaps should now be RS out, your lining & focus should be WS together, with the bottom seam open.


Insert the journal, pin for fit, then take it out.  If you want, you can mark the entire stitching line in wash-out marker.  Stitch the bottom seam:


Be careful not to catch your bookmark in the bottom seam, unless you are using elastic (hey!  Great idea!) and you want it caught!  You should now have a tube.  


As you can see here, the lining is ever so slightly larger than the cover.  Not sure why this happened, but you can cheat like I did; just pink off the ends (very annoying if you've made the effort to double-seam them!) to make them the same size.  The lining should be either exactly the same finished size as your cover (without the flaps), or just smaller.  


Turn it all out, through the opening in the tube.  Insert your journal again, taking care not to bend its covers, and check for fit.  This journal is a bit tricky in that it has rounded corners, but it didn't affect the overall fit.


Remove journal again (d'oh), press carefully, re-insert journal, wrap beautifully and hand to lucky recipient.


Questions?  Comments?  More info?  Less info?  Tell all, Gentle Readers.  I'd love to see your finished items... 


Ciao!